Moto G. Root Moto G using Superboot
Root Motorola Moto G. Steps
- 1 – Make a backup of all data we have on the phone (photos, videos, downloaded files,… because all currennt data on the phone will be deleted.
- 2 – Set up your Android device into “USB Debugging Mode” You can find it in “Settings>Developer Options”
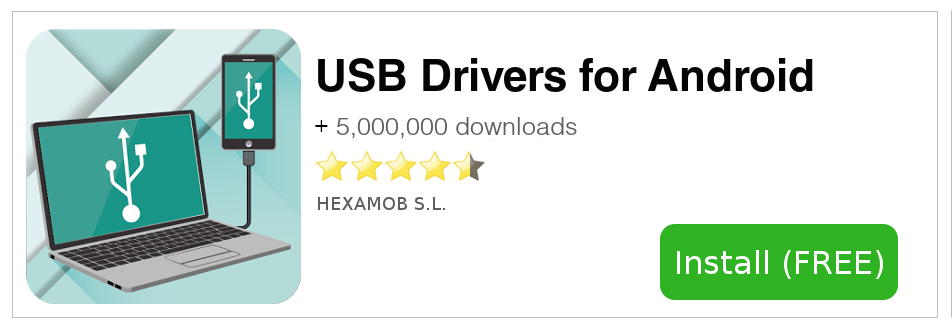
- 3 – Make sure the Android drivers (Drivers) for your phone are installed on your PC. If not, you can find some drivers on this page in the Download DRIVERS button.
- 4 – Plug on your device to PC with an USB cable.
- 5 – Unlock the bootloader using the help of the Motorola Help Official Site.
- 6 – Download Superboot .zip from download section of this page and unzip it.
- 7 – Go with your Motorola Moto Ginto bootloader mode by pressing the Volume Down button and the power button at the same time.
- 8 – To Root Moto G , run the file:
- superboot -linux.sh (Linux users).
- superboot -windows.bat (Windows users).
- superboot -mac.sh (iOS users).
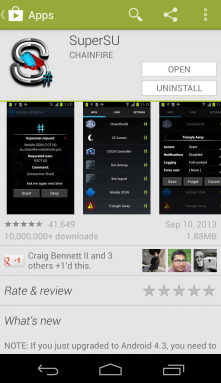
- 9 – Install SuperSu app from the Google Play Store after this step is done. You have a link to SuperSu below in the Download sources section.
Remember, you must root your device at your own risk.
Other important informations to read before rooting:
When you are ROOT or superuser you can lose the warranty of your Motorola Moto G.
Download USB DRIVER for Android devices
Download sources
Source
Legal conditions:
Hexamob is not responsible for any damages caused directly or indirectly by a rooting method. Any action for rooting your device is done it only under your responsibility.
We recommend that you read all the instructions related to each root method and follow them step by step as indicated by the developers. If you have any question or need support, on every page there are links to the developers of each method.
PHP Code Snippets Powered By : XYZScripts.com