How to print screen with Windows Phone
How to print screen with Windows Phone
With a Windows Phone 7, it was quite difficult to make a print screen of our smartphone, something that can be done very quickly and easily from an Android or iOS.
Finally, Microsoft has decided to offer the same functionality as other OS and the Windows Phone 8 has included the ability to take screenshots. Here are the steps to follow to get a quick print screen.
When we have on the display what we want to capture, we must simultaneously press the “Start” button and the power button. The pictures that we take are stored directly on the photo hub, where we can easily share them. Once acquired, we can save these images on SkyDrive or share them on the social networks.
Saving images on SkyDrive
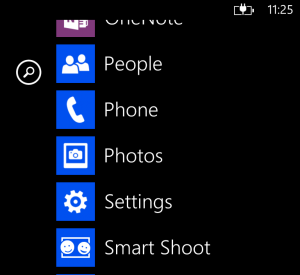
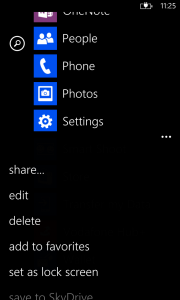
To save images on SkyDrive, we must first go to the app “Photos” that we can find in the application’s list. Once inside the app, we need to click on “More” (three points), and then go to “Settings”.
Under the Auto upload option, we will find SkyDrive. From here, you just have to select which quality you want when you move the image. “Good quality” corresponds to low resolution, while if we want a high resolution, we should choose “best quality”.
How to share images on social networks
As in the previous case, we go to “Photos” app in the application list. Once there, we open the image we want to share, click on “More” and select the sharing option. From there, we can choose in which social network we to want publish it.
Clicking on the text box we can write a caption or the tweet if we are going to share it on Twitter. In the latter case, if we choose to share an image on Twitter, it is saved in a public folder on SkyDrive and the link to the publication will be shared.