How to install TWRP Recovery. Complete Guide
It is proven that a modified recovery such as TWRP Recovery is the best solution for customizing your Android device. Recovery provides the tools you need to flash and modify your smartphone or tablet without compromising the performance of your device.
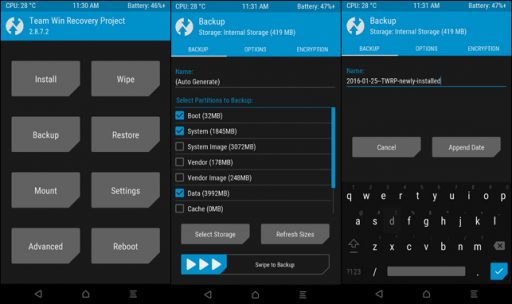
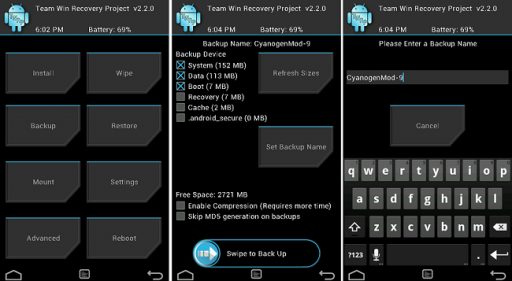
In most cases, a modified recovery helps get root permissions by flashing the SuperSu.zip file. Additionally, you can back up your entire operating system with all your data and apps, which is very useful in recovering your device if there are some issues, or you would like to go back to the previous version of the operating system and you do not want to install all apps from scratch.
Another advantage of modified recovery is to be able to perform deep cleansing of cache and dalvik cache, which is fundamental if your Android device should be restarted following the flash of a custom ROM. In essence, having a modified recovery in your device is necessary even if you do not need it immediately to make changes or anything else, it can always be useful to restore your smartphone or tablet.
Currently, two are the most known and used modified recoveries: CWM (ClockWorkMod) and TWRP (Team Win Recovery Project). The CWM was the pioneer in this field, followed by the TWRP in a timely order. Both have their own advantages and defects, but we personally prefer the TWRP, which has a more cautious and intuitive graphical interface, and is therefore easy to use by all users.
If you’re looking for a way to install TWRP Recovery on your Android device, we’ll show you how to do it below. There are two different methods for installing TWRP Recovery and we’ll show them all, so you can choose which one to do with your own and proceed safely.
How to install TWRP Recovery
Prerequisites
- Adb and fastboot installed on the PC (go to Procedure for those who don’t have root).
- Root permissions (for Method 1 and Method 2).
- Bootloader unlocked.
- Enable USB Debugging.
Procedure for those who don’t have root permissions
- Connect the device to the PC via USB.
- Download the latest version of TWRP recovery. Save the file in a folder.
- Open a command window on the PC by pressing the shift key on the keyboard + right key in the folder where the downloaded file is located, and select the option “Open command window here“.
- At the command prompt, write the following and press Enter: “adb reboot-bootloader” (without quotation marks).
- When the device enters fastboot mode, write the following and press Enter (X indicates the full name, usually TWRP, without .img, of the downloaded file): “fastboot flash recovery X.img”.
- Wait for the operations to complete.
Method 1
- Install the TWRP Manager app from the Play Store and install it in your device.
- Open the app and allow root privileges.
- Go to Advanced, then Install Recovery. Check on the screen that the device name is correct, and then click on Install Recovery.
- Wait for the operations to complete.
Method 2

- Download the latest version of the recovery here, then place the file in the device’s internal memory.
- Rename the file as TWRP.img.
- On Terminal Emulator, Flashify or similar applications to flash the app, write the following commands: “dd if=/sdcard/twrp.img of=/dev/block/bootdevice/by-name/recovery”.
And that’s all, now you should have installed the app satisfactorily.
Download
Check if your device is rooted correctly using our app “How to ROOT”.

Download sources
Remember, you must ROOT your Android device at your own risk.
Sources
Ads
Legal conditions
Hexamob is not responsible for any damages caused directly or indirectly by a rooting method. Any action for rooting your device is done it only under your responsibility.
We recommend that you read all the instructions related to each root method and follow them step by step as indicated by the developers. If you have any question or need support, on every page there are links to the developers of each method.